Here’s how to use LoRAs in ComfyUI to enhance the customization of diffusion models for generating characters, clothing, or objects:
Step 1: Load the Default Workflow
Start by loading the default ComfyUI workflow. Simply click the Load Default button in the ComfyUI Manager. If you don’t have the Manager installed, you can download it from here.
Step 2: Add the LoRa Node
To integrate a LoRa into your workflow, either double-click on the workspace and search for Load LoRa, or right-click, then select Add Node > Loaders > Load LoRA. This will add the LoRa node to your current workflow, unlocking new creative possibilities.
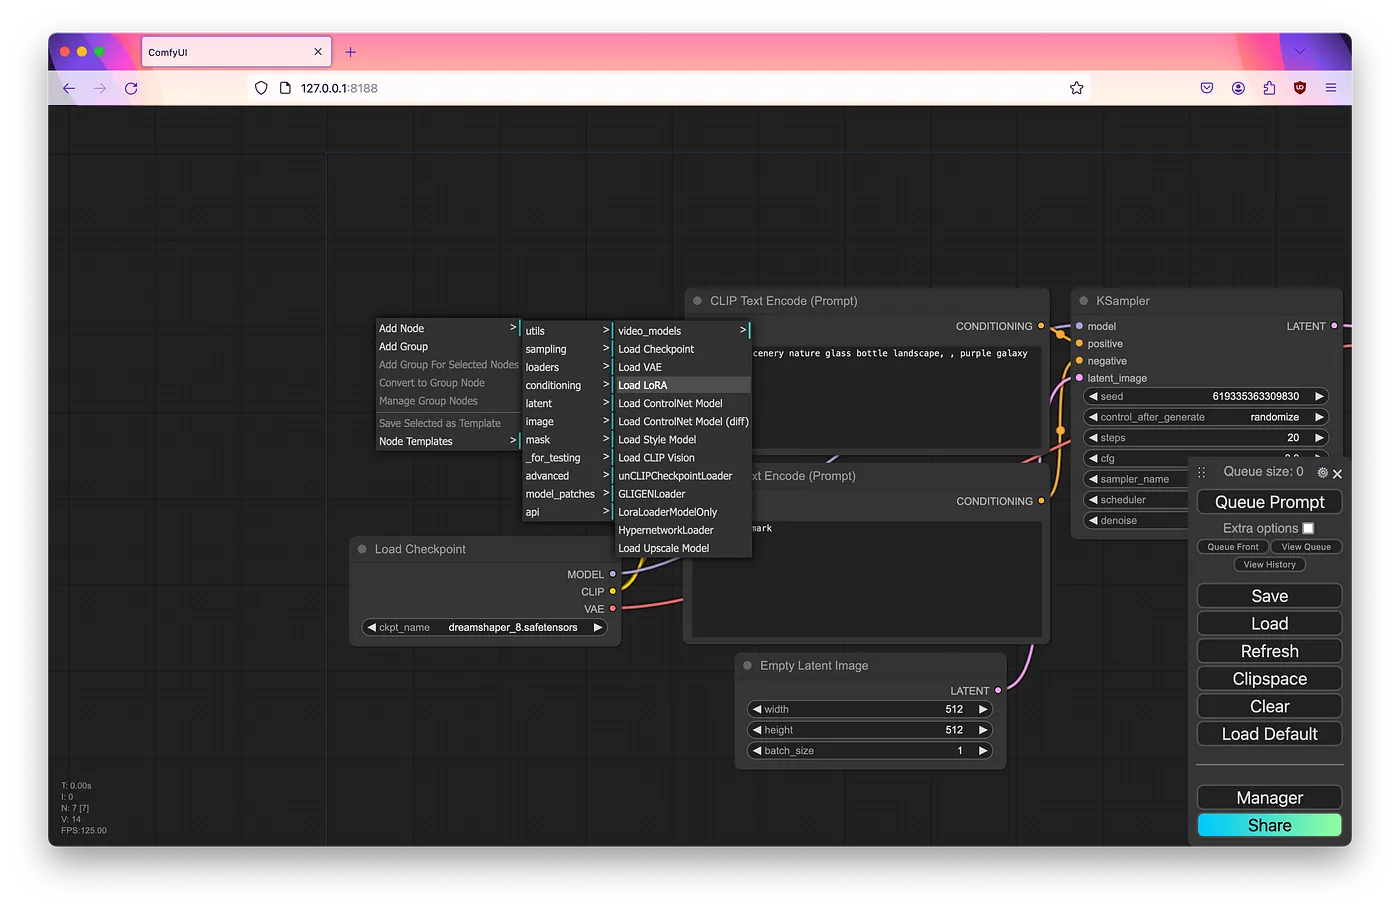
Step 3: Configure LoRA Settings
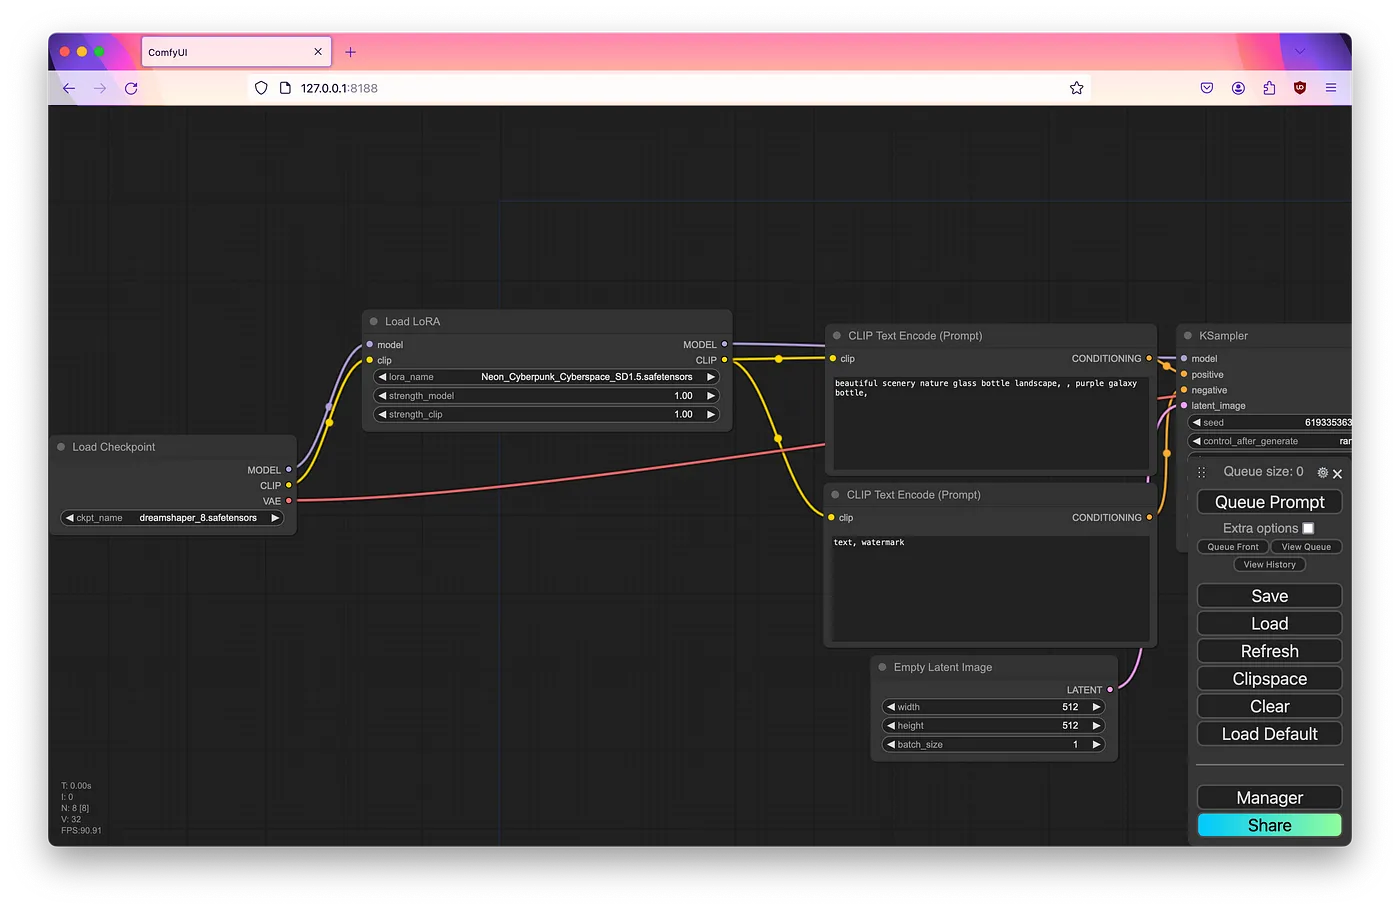
Once the Load LoRA node is in your workflow, configure the settings by specifying the lora_name, which corresponds to the LoRA file located in the ComfyUI > Models > Loras directory. Adjust the strength_model and strength_clip values, which control how strongly the LoRA influences the diffusion and CLIP models. These values play a significant role in shaping the final output, so experimenting with different settings is recommended to find the ideal balance for your project.
LoRA creators often embed trigger words in prompts to fine-tune the generated output. Using these can help achieve a more customized result that aligns with your creative vision.
Step 4: Integrate the LoRA Node into Your Workflow
The LoRA node connects between the diffusion model and the CLIP nodes in your workflow. It has both model and clip inputs and outputs, so to integrate it, simply drag the node between the diffusion model and the CLIP nodes, linking them together. This setup will allow the LoRA to modify the generation process as demonstrated below:
Step 5: Test and Verify LoRA Integration
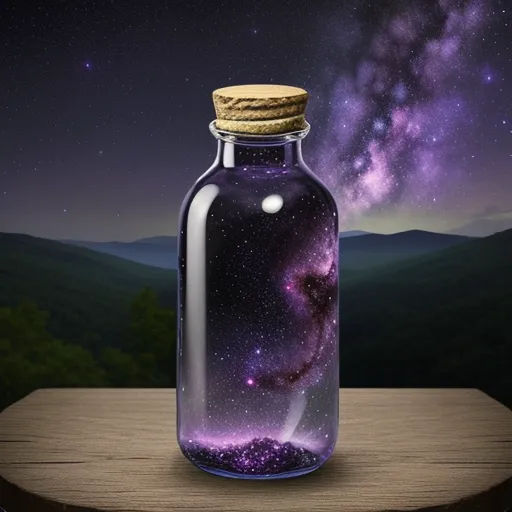
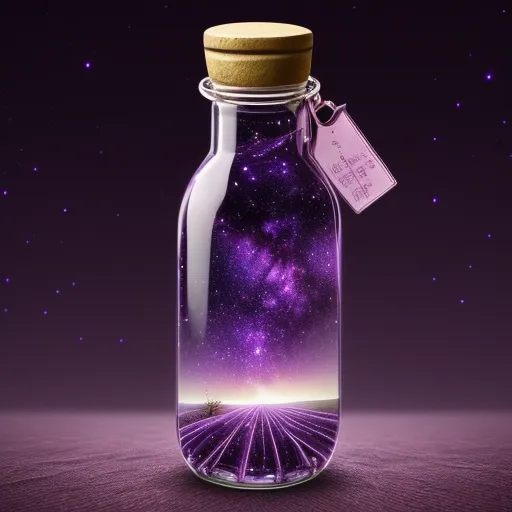
Run a test to ensure the LoRA is properly integrated into your workflow by generating an image using the updated setup. If everything is correctly implemented, the generated image should visibly reflect the modifications applied by the LoRA. You can further adjust the strength_model and strength_clip values, experiment with different LoRA combinations, and tweak other settings to fine-tune the results and explore new creative possibilities.
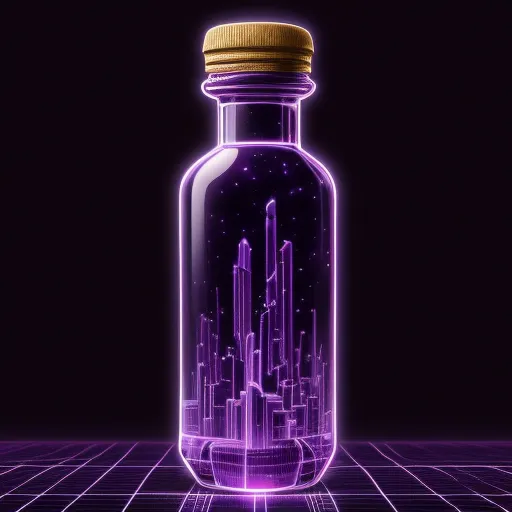
For instance, in my workflow, I am using the Neon Cyberpunk LoRA (available [here]). The creator suggests a strength setting between 0.6 and 1.0, and the mad-cyberspace trigger word for optimal results. Additional keywords such as “cyberpunk,” “1980s,” “retro,” and “scifi” can be added to refine the output further, helping to achieve the desired aesthetic.
Step 6 (Optional): LoRA Stacking
If a single LoRA doesn’t produce the desired effect, you can take advantage of LoRA stacking to enhance customization. Stacking multiple LoRAs enables users to unlock even more creative possibilities and craft intricate, highly personalized designs.
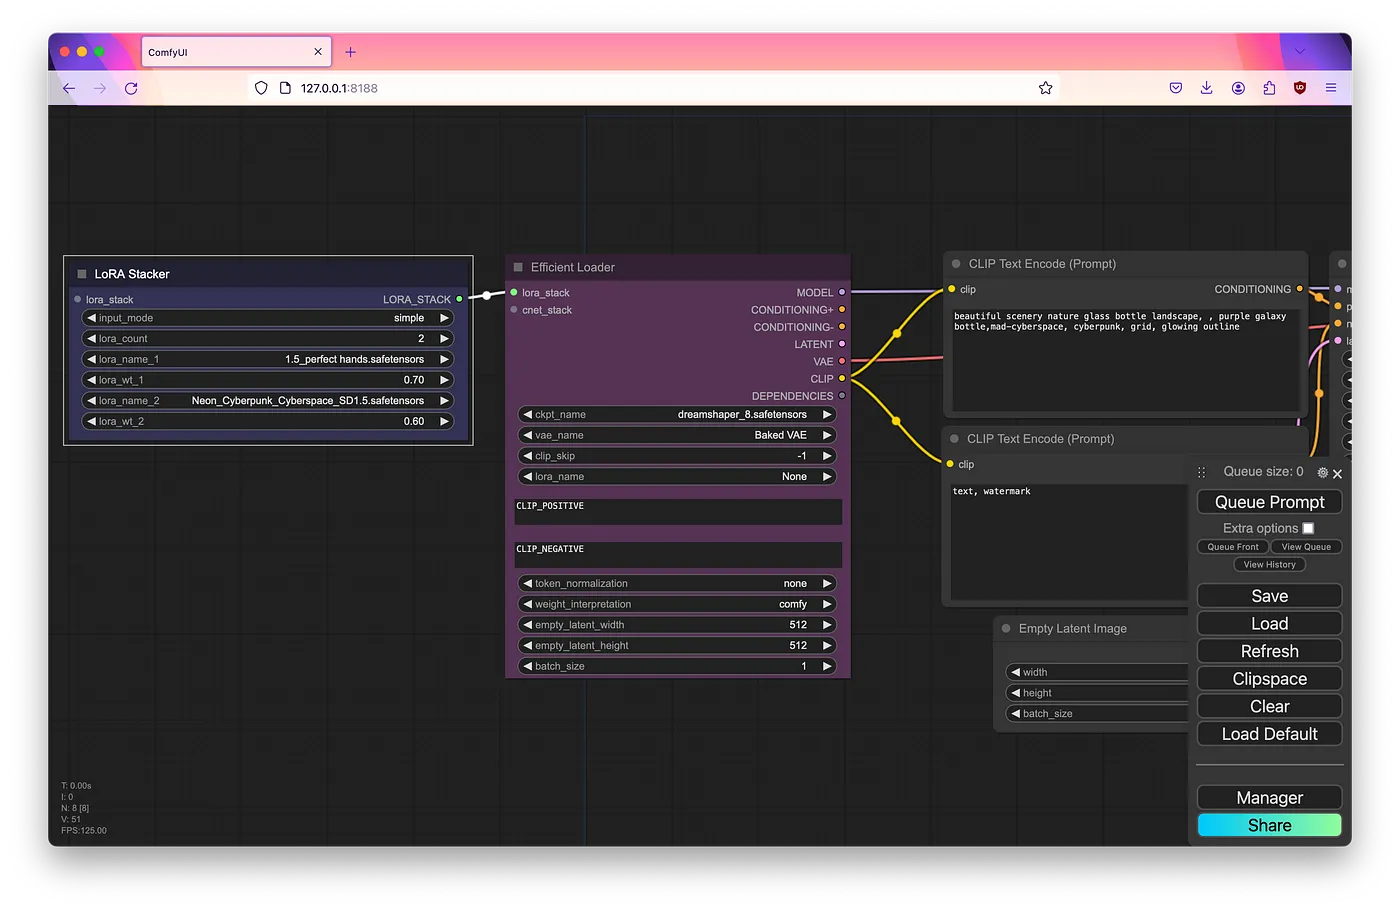
Although adding multiple Load LoRA nodes to your workflow is one way to achieve this, a more efficient method is using the LoRA Stacker feature found within the Efficiency Nodes custom node. This allows you to load several LoRAs simultaneously and fine-tune their individual strength values to generate a unique output. A demonstration of this technique can be found below:
Credits: @promptingpixels
Read other related articles: