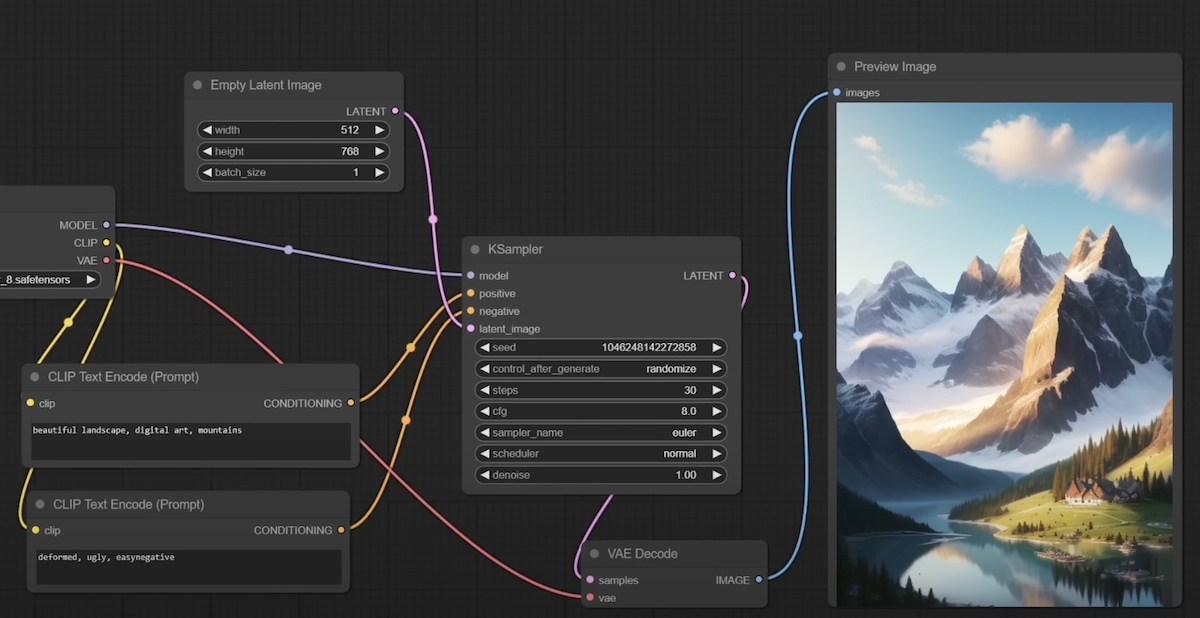
ComfyUI is a powerful tool that transforms the way you work with creative projects. In this article, we’ll explore its basic functionalities and show you how to make the most of this versatile platform. Whether you’re new to ComfyUI or looking to sharpen your skills, this guide will provide you with a solid foundation.
Getting Started with ComfyUI
ComfyUI can be thought of as a blank canvas where you can freely explore and create. Imagine yourself as a child drawing whatever comes to mind, because that’s the level of freedom ComfyUI offers. In this section, we’ll walk through the initial setup and interface basics to get you started.
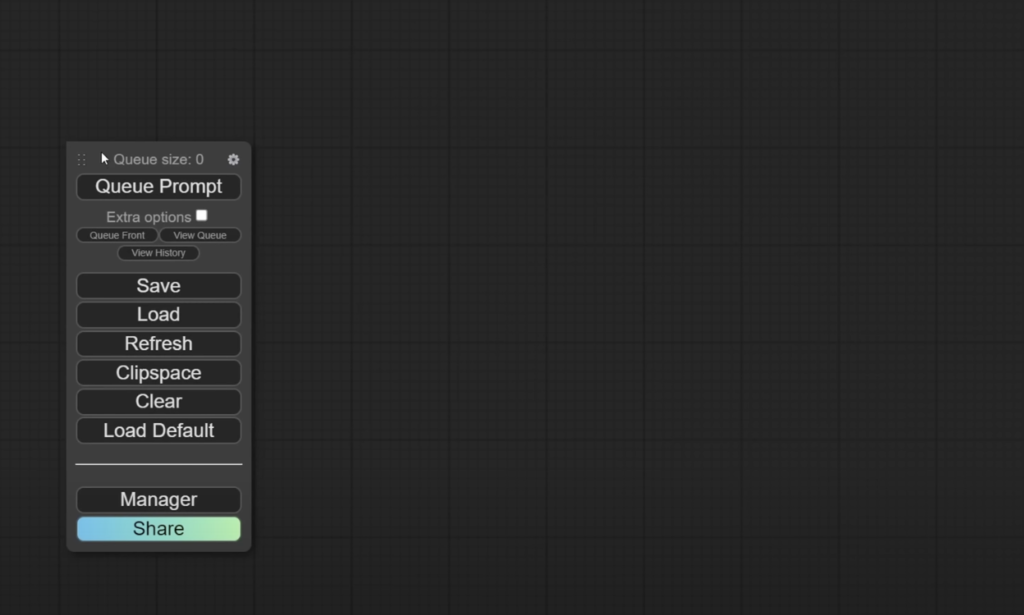
First, you’ll need to familiarize yourself with the interface. Start by launching ComfyUI and explore the different elements on the screen. You can move and manipulate these elements to suit your needs.
The key component to manage is the Comfy Manager, where you can install and update custom nodes. To get started, visit the Comfy Manager’s GitHub page, copy the command provided, and follow the instructions to complete the installation.
Installing and Managing Nodes
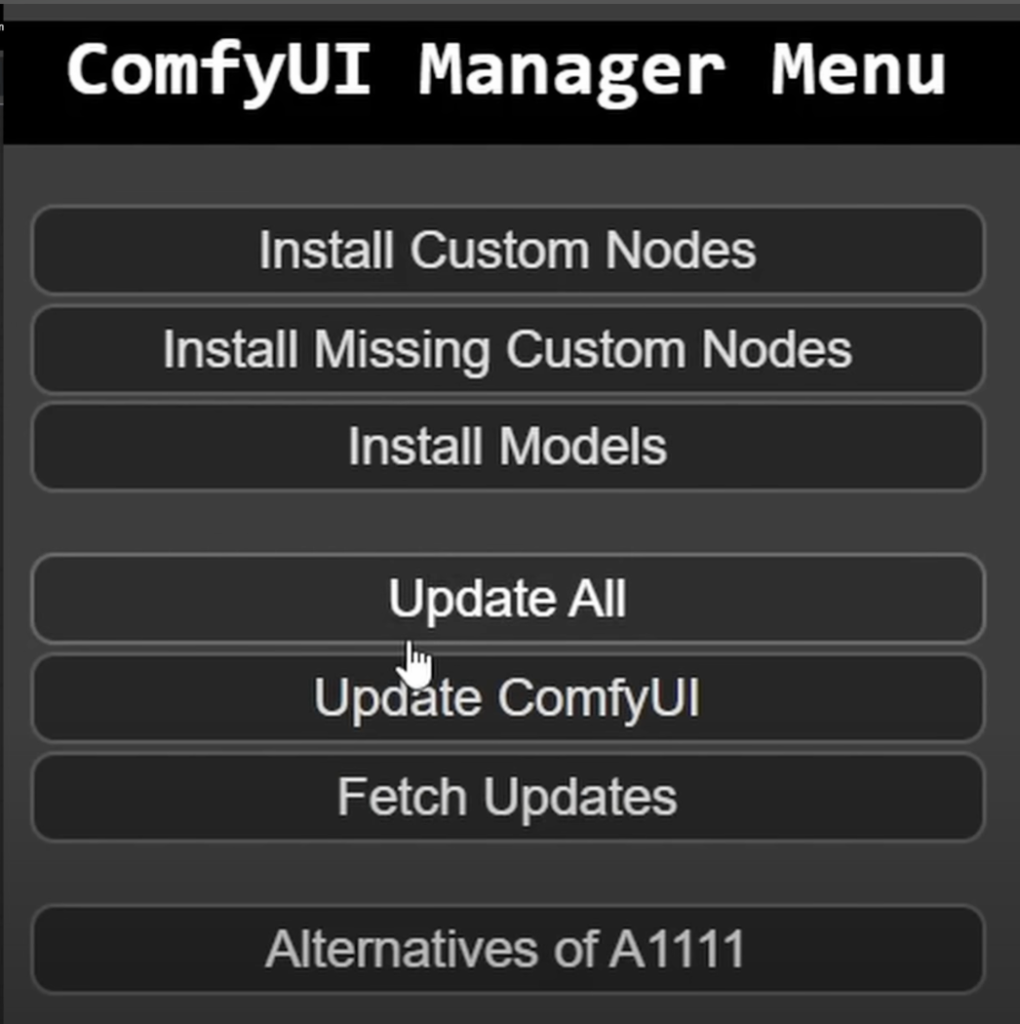
Nodes are essential in ComfyUI, as they represent different functions and tools you can use in your workflows. The Comfy Manager allows you to easily install, update, and manage these nodes. To install new nodes, click on the “Install Custom Nodes” button within the Comfy Manager. This will open a list of available nodes that you can install or manage.
You might find several useful node packs such as the Comfy Impact Pack or the Comfy Inspire Pack. These packs contain some of the most frequently used custom nodes.
Additionally, if you want to install models or configure paths, you can do so through the Comfy Manager’s settings. This flexibility is key to tailoring ComfyUI to your specific needs.
Building and Organizing Workflows
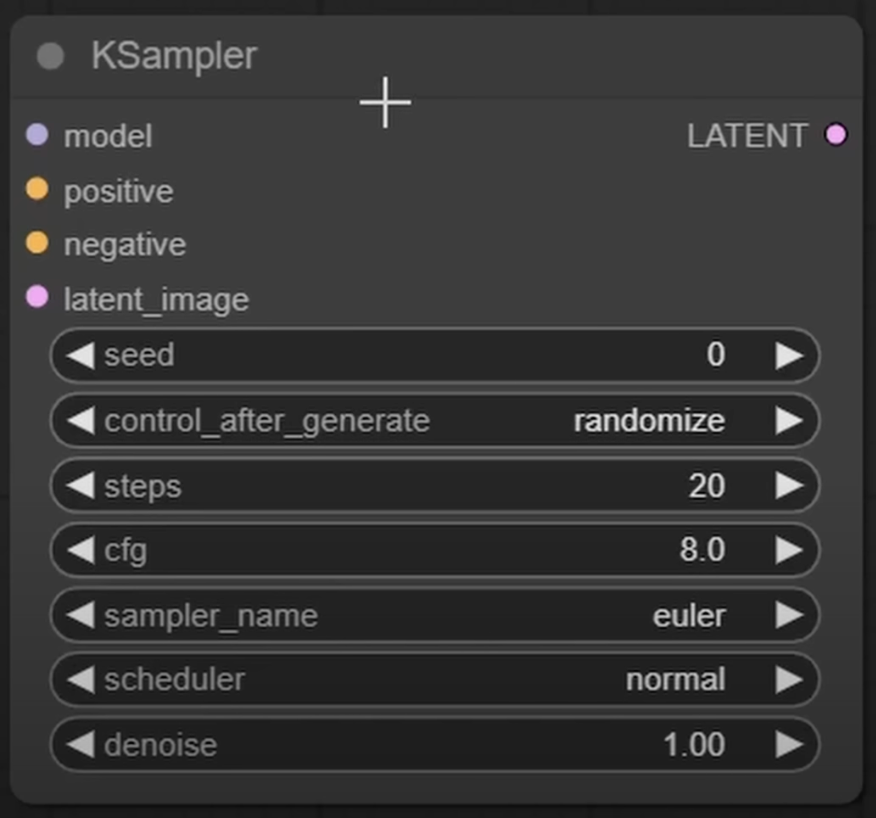
Once you’ve set up your nodes, it’s time to build your workflows. Start by adding nodes to your canvas. You can double-click on the canvas to bring up a search window and add nodes like the K Sampler.
Organize your workflow by connecting nodes with cables, and use reroute nodes to keep your canvas clean and manageable.
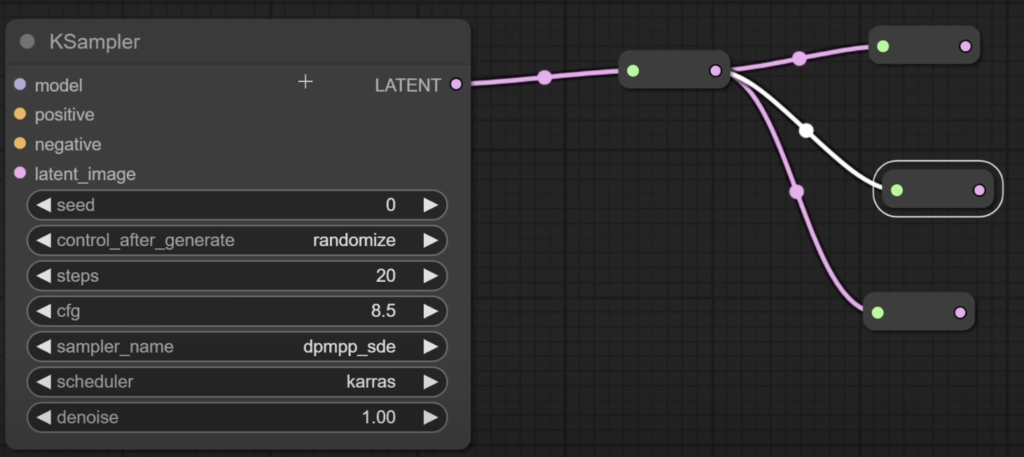
For clarity, you can zoom in and out on your canvas and use the blue line as a guide for your main working area. Grouping nodes and color-coding them can further enhance organization.
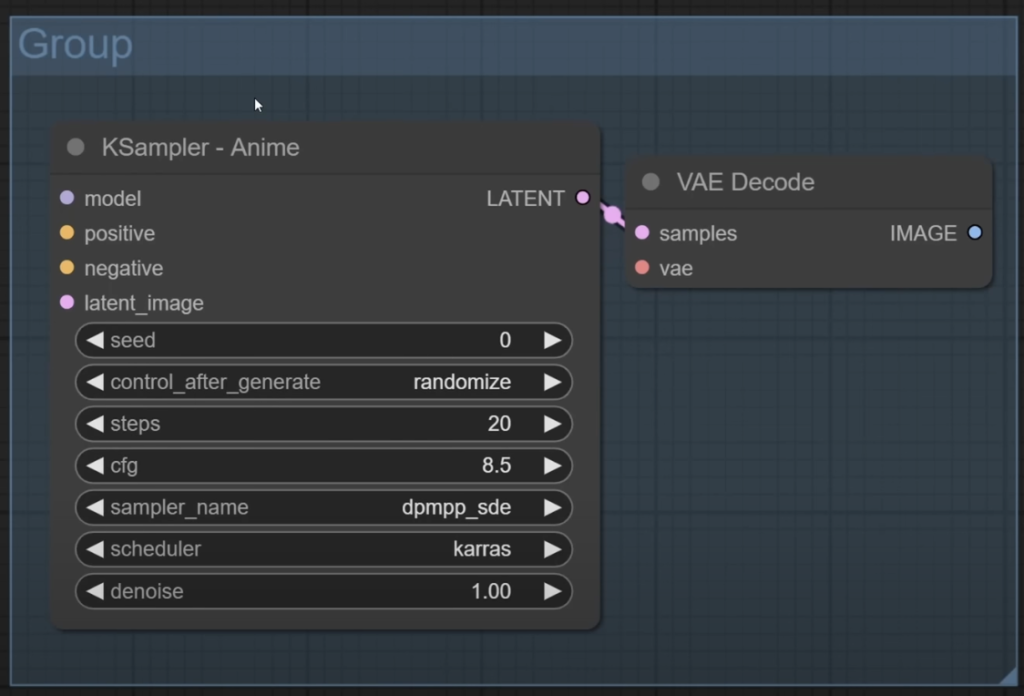
Use groups to combine related nodes, and adjust their visibility as needed. This approach helps maintain a tidy and efficient workspace, especially for complex projects.
Customizing and Fine-Tuning Nodes
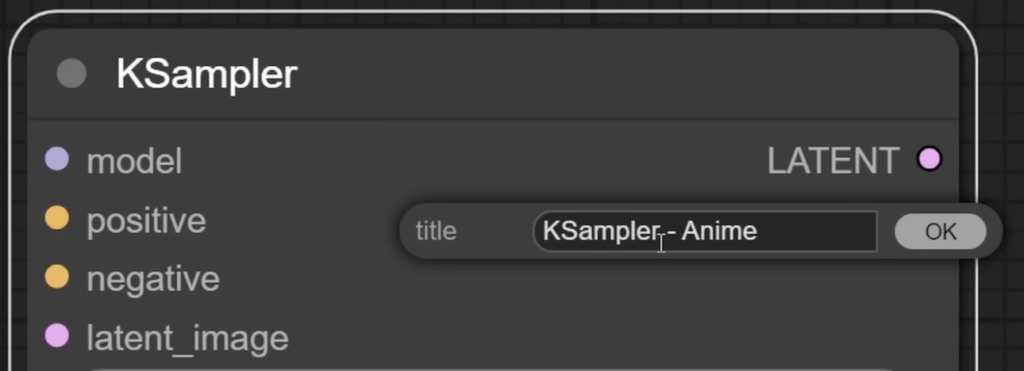
Customization is a powerful feature in ComfyUI that enhances both functionality and organization. Right-click on nodes to access options such as renaming and color-coding. For instance, you can change a node’s title to reflect its purpose or adjust its color to visually distinguish different types of nodes.
Additionally, you can convert node controls into inputs for greater flexibility. For example, if you need multiple nodes to use the same seed value, you can convert the seed control to an input. This allows you to synchronize parameters across multiple nodes easily.
ComfyUI offers a robust set of tools and features for creative and technical projects. By understanding its interface, managing nodes effectively, organizing workflows, and customizing nodes, you can fully leverage its capabilities to enhance your projects.
Video Tutorial
In the following articles, we’ll dive deep into ComfyUI workflows, exploring the advanced features and optimizations that make this framework a powerful tool for creating complex Stable Diffusion projects. Whether you’re new to ComfyUI or looking to enhance your workflow, these articles will provide valuable insights and practical tips to help you get the most out of the platform.
Happy creating!
