On this page we will review core ComfyUI Nodes.
Image Nodes
ComfyUI offers a range of nodes designed for pixel image manipulation. These nodes can be utilized to load images for img2img workflows, save results, or upscale images for high-resolution projects, among other functions.
Load Image Node
The Load Image node allows you to load an image easily. You can upload images by either opening the file dialog or dragging and dropping an image onto the node. Once the image is uploaded, you can select it directly within the node.
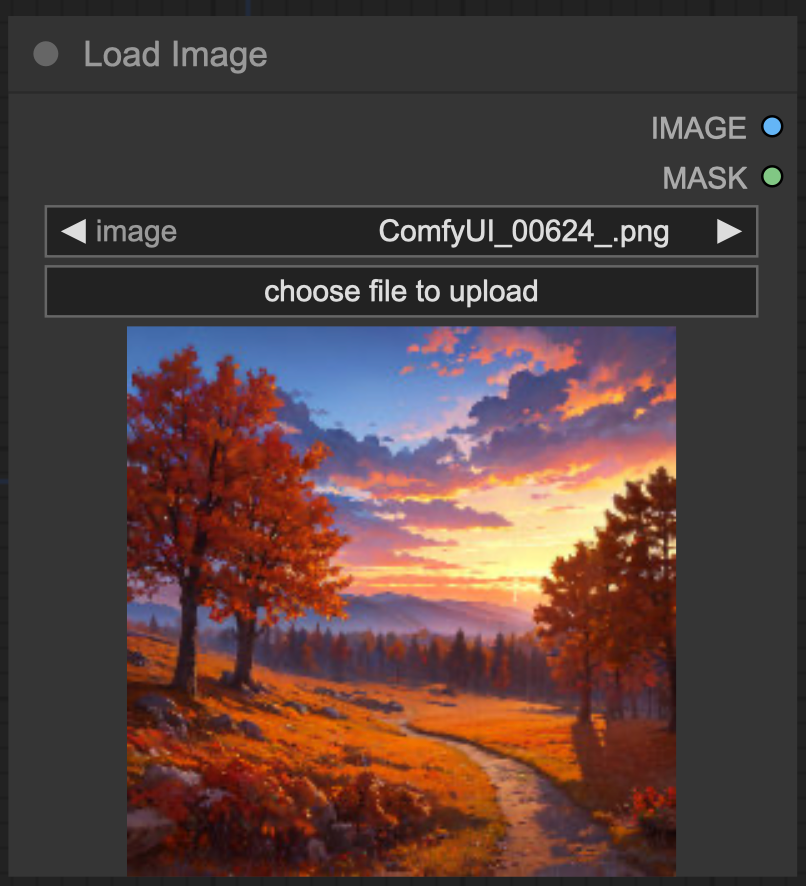
by default images will be uploaded to the input folder of ComfyUI
Inputs
- image: The name of the image to be used.
Outputs
- IMAGE: The pixel image.
- MASK: The alpha channel of the image.
Example
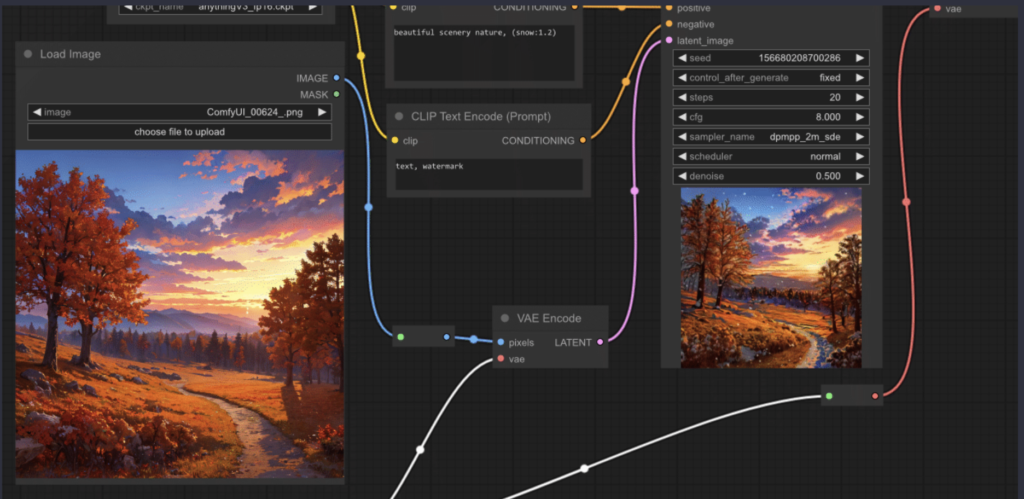
To perform image-to-image generation, you first need to load the image using the Load Image node. In the example below, an image is loaded with this node and then encoded into latent space using a VAE Encode node, enabling us to carry out image-to-image tasks.
Invert Image Node
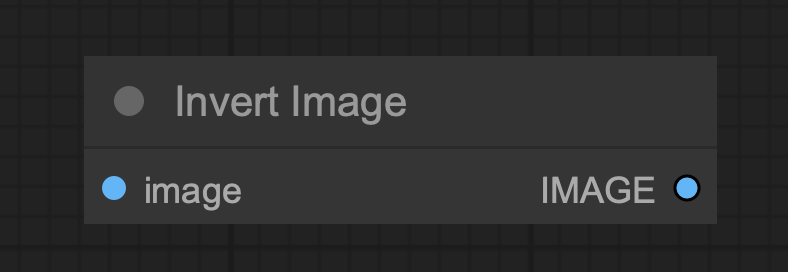
The Invert Image node allows you to invert the colors of an image.
Inputs
- image: The pixel image to be inverted.
Outputs
- IMAGE: The inverted pixel image.
Example
To demonstrate its usage, you can incorporate the Invert Image node in your workflow as shown in the image below, illustrating how it transforms the original image into its inverted version.
Pad Image for Outpainting Node
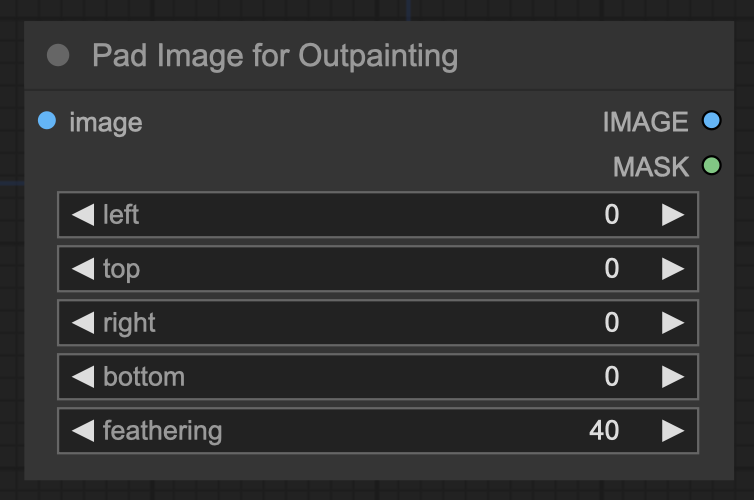
The Pad Image for Outpainting node is used to add padding around an image, preparing it for outpainting. This padded image can then be processed by an inpainting diffusion model via the VAE Encode for Inpainting.
Inputs
- image: The image to be padded.
- left: Amount of padding to the left of the image.
- top: Amount of padding above the image.
- right: Amount of padding to the right of the image.
- bottom: Amount of padding below the image.
- feathering: Degree of feathering applied to the borders of the original image.
Outputs
- IMAGE: The padded pixel image.
- MASK: The mask indicating where the sampler should outpaint.
Preview Image Node
The Preview Image node is used to display images within the node graph, allowing you to visualize the output at various stages of your workflow.
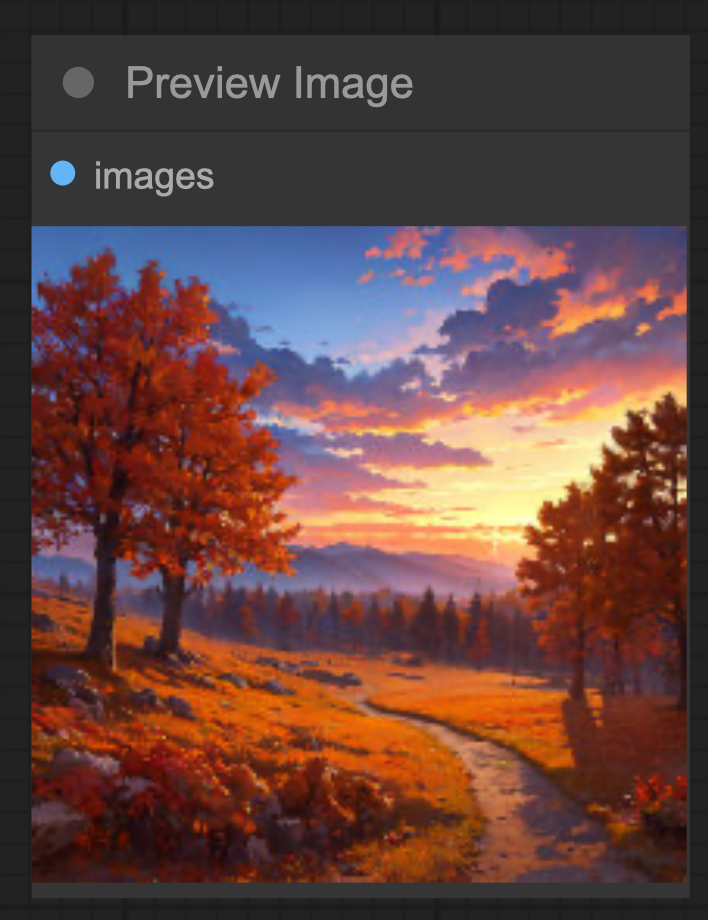
Inputs
- image: The pixel image to preview.
Outputs
- This node has no outputs.
Example
Example usage text with workflow image.
Save Image Node
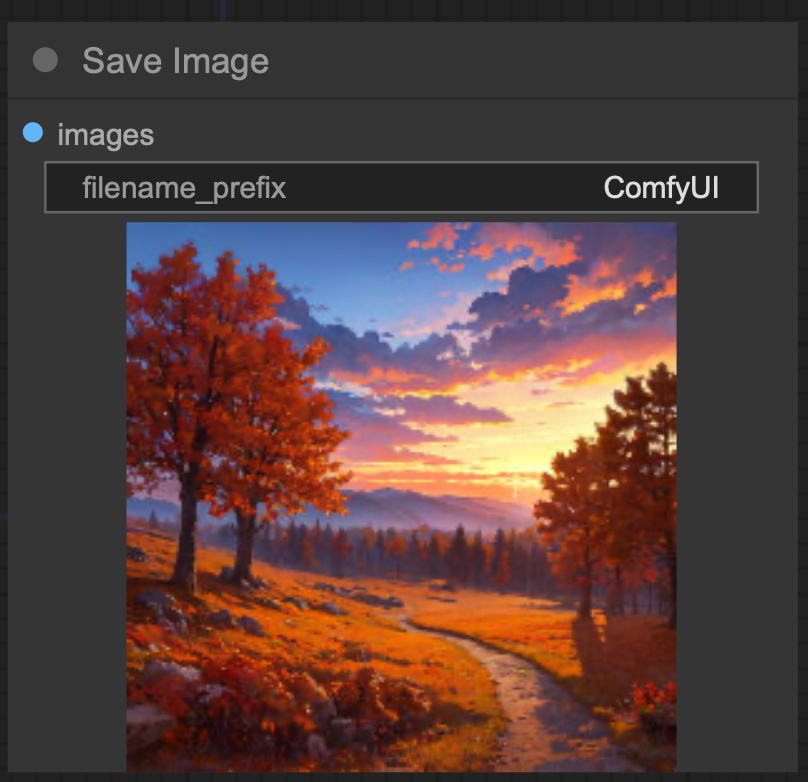
The Save Image node allows you to save images generated within your workflow. For previewing images within the node graph, use the Preview Image node instead. Managing multiple generated images can be challenging, so you can use specially formatted strings with a filename_prefix widget to help organize them. For details on formatting your string, refer to the relevant documentation.
Inputs
- image: The pixel image to save.
- filename_prefix: A prefix to include in the filename.
Outputs
- This node has no outputs.
Example
Example usage text with workflow image.
Upscale Image Node
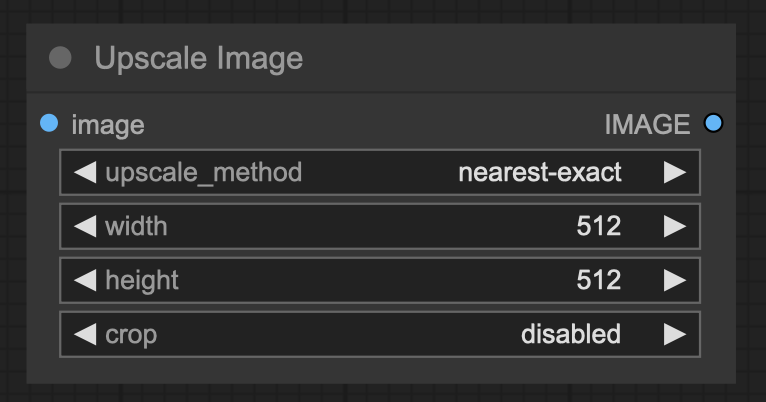
The Upscale Image node is designed to resize pixel images. For AI-based upscaling, refer to the Upscale Image Using Model node.
Inputs
- image: The pixel image to be upscaled.
- upscale_method: The method used for resizing.
- Width: The target width in pixels.
- Height: The target height in pixels.
- crop: Whether to center-crop the image to maintain the original aspect ratio.
Outputs
- IMAGE: The resized image.
Example
Example usage text with workflow image.
Loaders
GLIGEN Loader Node
The GLIGEN Loader node is utilized to load a specific GLIGEN model. GLIGEN models help associate spatial information with parts of a text prompt, directing the diffusion model to generate images that align with the compositions specified by GLIGEN.

Inputs
- gligen_name: The name of the GLIGEN model.
Outputs
- GLIGEN: The GLIGEN model that encodes spatial information related to the text prompt.
Load CLIP Node
The Load CLIP node is utilized to load a specific CLIP model, which is essential for encoding text prompts that guide the diffusion process.

Warning:
Conditional diffusion models are trained with a specific CLIP model. Using a different model than the one it was trained with is unlikely to yield satisfactory images. The Load Checkpoint node automatically loads the correct CLIP model.
Inputs
clip_name
The name of the CLIP model.
Outputs
CLIP
The CLIP model used for encoding text prompts.
Load ControlNet Model Node
The Load ControlNet Model node is used to load a ControlNet model. Similar to how the CLIP model provides textual hints to guide a diffusion model, ControlNet models offer visual hints. This process differs from merely providing a partially noised image for modification. ControlNet models can specify elements like edge placement or subject poses in the final image. This node can also be used to load T2IAdaptors.

Inputs
control_net_name
The name of the ControlNet model.
Outputs
CONTROL_NET
The ControlNet or T2IAdaptor model used for providing visual hints to a diffusion model.
Load LoRA Node
The Load LoRA node is used to load a LoRA (Low-Rank Adaptation). LoRAs modify the diffusion and CLIP models, changing how latents are denoised. Common use cases include enabling the model to generate specific styles or improving the generation of particular subjects or actions. Multiple LoRAs can be chained together for further modifications.
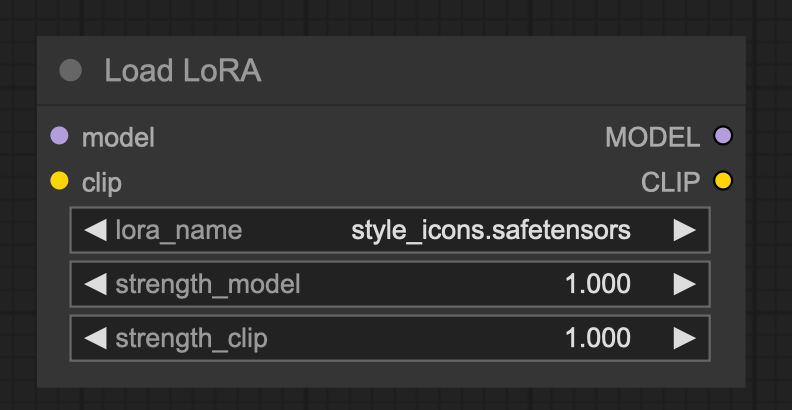
Tip: LoRA strength values can be set to negative, which may produce interesting effects.
For more information read How to use LoRAs in ComfyUI article.
Inputs
model
A diffusion model.
clip
A CLIP model.
lora_name
The name of the LoRA.
strength_model
The strength of modification applied to the diffusion model. This value can be negative.
strength_clip
The strength of modification applied to the CLIP model. This value can be negative.
Outputs
MODEL
The modified diffusion model.
CLIP
The modified CLIP model.
Mask Nodes
Mask nodes allow you to specify which areas of an image the sampler should denoise and which areas to leave untouched. These nodes offer various methods for creating, loading, and manipulating masks, giving you precise control over the editing process.
Convert Image to Mask Node
The Convert Image to Mask node allows you to transform a specific channel of an image into a mask.

Inputs
- image: The pixel image to be converted to a mask.
- channel: The channel to use as a mask.
Outputs
- MASK: The mask created from the selected image channel.
Convert Mask to Image Node
The Convert Mask to Image node enables you to transform a mask into a grayscale image.

Inputs
- mask: The mask to be converted to an image.
Outputs
- IMAGE: The grayscale image generated from the mask.
Sampling Nodes
The sampling nodes facilitate the denoising of latent images using a diffusion model. These nodes are essential for generating high-quality images by refining the latent representations through the diffusion process.
KSampler Node
The KSampler utilizes the specified model along with positive and negative conditioning to generate a refined version of the given latent. The process begins by adding noise to the latent image based on the provided seed and denoise strength, effectively erasing parts of the image. This noise is then removed using the model, guided by the conditioning inputs, allowing for the “dreaming” of new details where noise was applied.
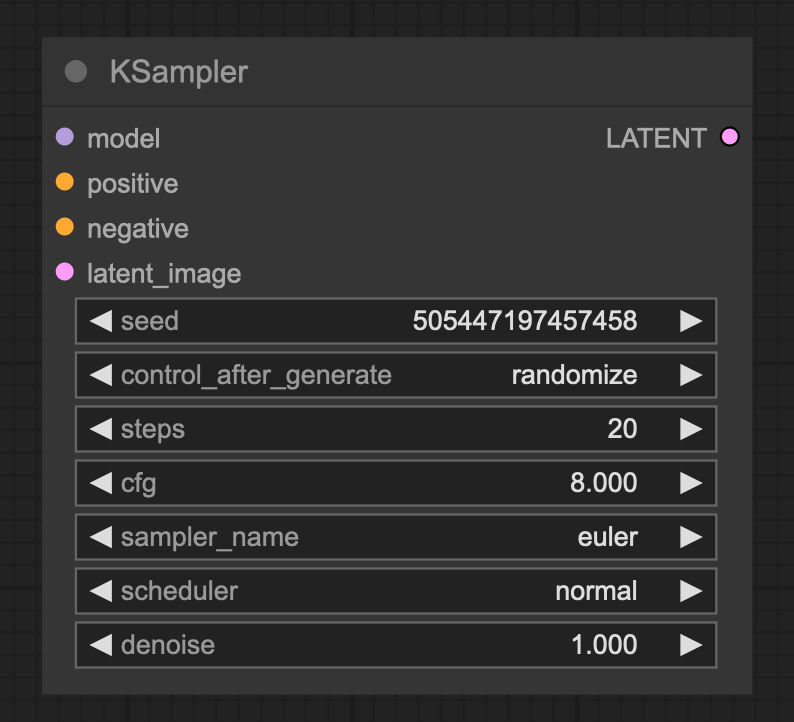
Inputs
- Model: The model used for denoising.
- Positive: The positive conditioning.
- Negative: The negative conditioning.
- latent_image: The latent that will be denoised.
- seed: The random seed used in creating the noise.
- control_after_generate: Enables changes to the seed number after each prompt. The node can randomize, increment, decrement, or keep the seed fixed.
- steps: The number of steps for denoising; more steps typically yield more accurate results. Refer to the samplers page for guidelines on selecting an appropriate number of steps.
- cfg: The classifier-free guidance scale, which determines how aggressively the sampler should adhere to the prompts. Higher values enforce prompt adherence but may compromise image quality if set too high.
- sampler_name: Specifies which sampler to use. See the samplers page for available options.
- scheduler: Defines the type of schedule to apply. Refer to the samplers page for details.
- denoise: Indicates how much latent information should be obscured by noise.
Outputs
- LATENT: The denoised latent image.
Example
KSampler
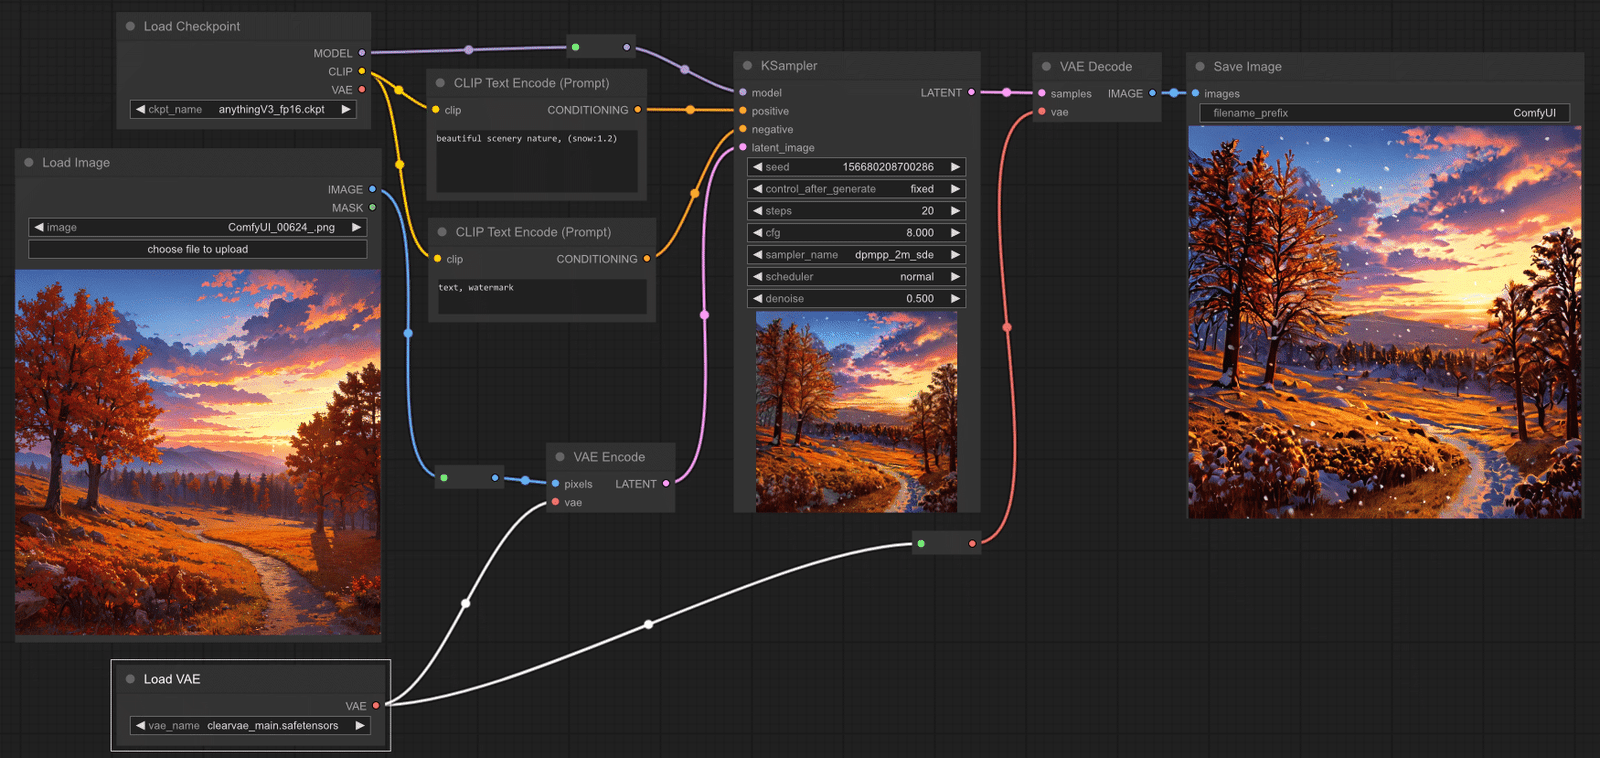
The KSampler is essential for any workflow and facilitates both text-to-image and image-to-image generation tasks. The example below demonstrates how to utilize the KSampler in an image-to-image scenario by connecting a model, along with positive and negative embeddings, to a latent image.
Important Note: A denoise value of less than 1.0 is used to preserve elements of the original image during the noising process. This approach guides the denoising to produce results that closely resemble the original image.
KSampler Advanced Node
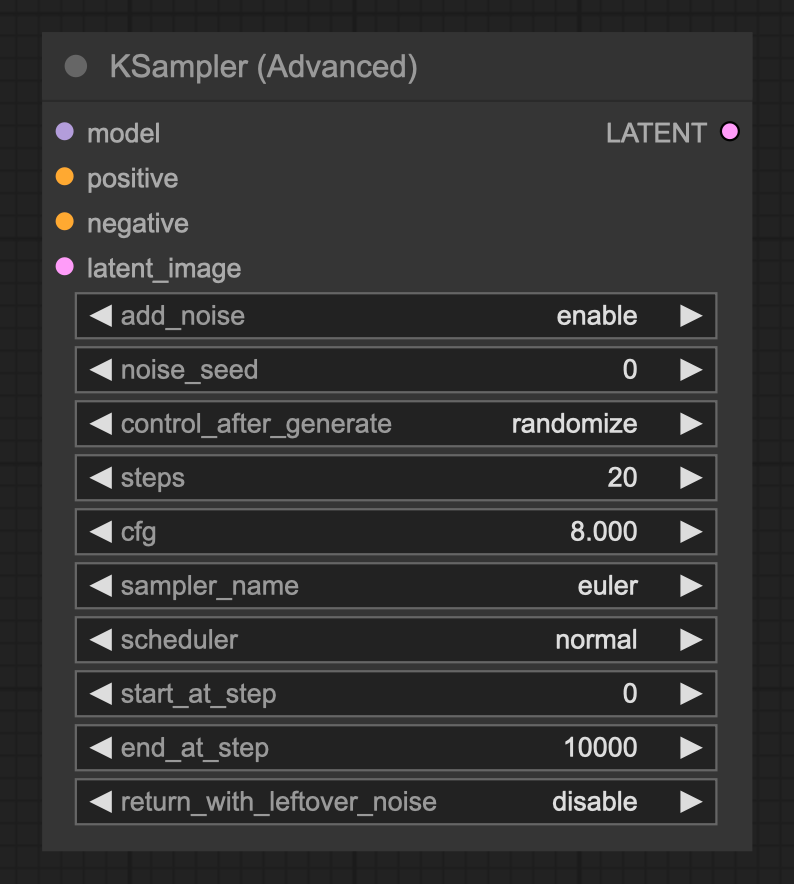
The KSampler Advanced node offers enhanced functionality compared to the standard KSampler node. While the KSampler always adds noise to the latent and then completely denoises it, the KSampler Advanced node allows for more nuanced control over this process.
Key Features:
- Add Noise: Control whether noise is added to the latent before denoising. When enabled, the node injects noise appropriate for the specified starting step.
- Return Partially Denoised Images: The setting
return_with_leftover_noiseallows the output to retain some noise, which can be useful in certain workflows. - Step Control: Instead of a direct denoise setting, use
start_at_stepandend_at_stepto dictate the denoising timeline. This flexibility allows you to pass a partially denoised latent to another KSampler Advanced node for further processing.
Tip: If end_at_step is greater than or equal to steps, the KSampler Advanced will denoise the latent similarly to a KSampler node with the following denoise calculation:
[ \text{denoise} = \frac{(\text{steps} – \text{start_at_step})}{\text{steps}} ]
Inputs
- Model: The model used for denoising.
- Positive: The positive conditioning.
- Negative: The negative conditioning.
- latent_image: The latent that will be denoised.
- add_noise: Whether to add noise to the latent before denoising.
- seed: The random seed used in creating the noise.
- control_after_generate: Adjust the seed number after each prompt (randomize, increment, decrement, or fix).
- steps: The total number of steps in the schedule.
- cfg: The classifier-free guidance (cfg) scale for prompt adherence.
- sampler_name: The specific sampler to use.
- scheduler: The type of schedule employed.
- start_at_step: The step at which to initiate the denoising process.
- end_at_step: The step at which to conclude denoising.
Outputs
- LATENT: The denoised latent.
Diffusers
Diffusers Loader Node
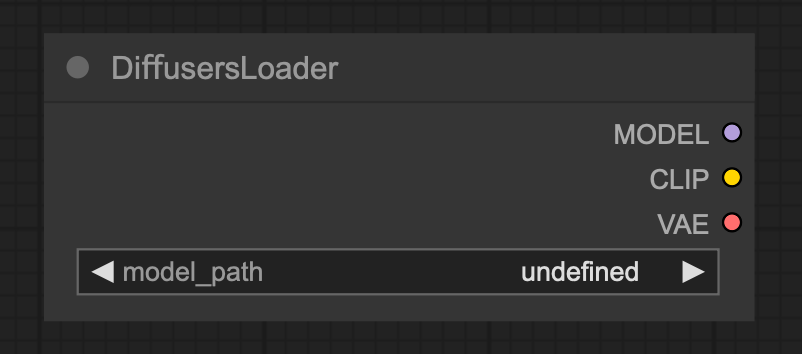
The Diffusers Loader node is designed to load a diffusion model from the Diffusers library, facilitating the denoising of latent images.
Inputs
- model_path: The path to the diffusion model.
Outputs
- MODEL: The model used for denoising latents.
- CLIP: The CLIP model used for encoding text prompts.
- VAE: The VAE model used for encoding and decoding images to and from latent space.